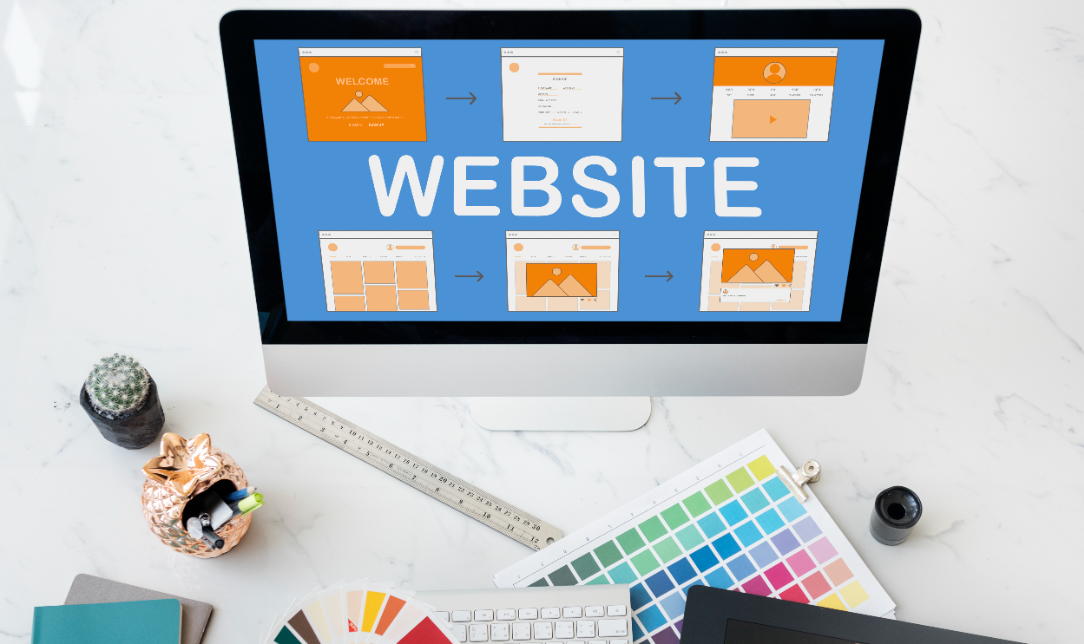
As your website grows and evolves, there may come a time when your current Content Management System (CMS) no longer meets your needs. Whether it's limited functionality, performance issues, or a lack of scalability, switching to a new CMS can be a game-changer for your business. However, migrating your website to a new CMS is not a decision to be taken lightly. It involves careful planning and execution to ensure a smooth transition with minimal disruption to your website's performance and user experience.
In this guide, we'll walk you through the key steps of migrating your website to a new CMS, ensuring a successful and seamless migration process.
Step 1: Evaluate Your Current CMS
Before diving into the migration process, it’s essential to evaluate your current CMS and identify the reasons for switching. What specific issues are you facing with the current system? Is it outdated, slow, or lacking essential features for your business? Understanding your pain points will help you choose a new CMS that aligns with your goals and resolves these issues.Take this time to consider the goals for your website moving forward. Are you looking for better content management, improved security, enhanced SEO features, or easier integrations with third-party tools? Once you have a clear idea of your needs, you can begin researching CMS platforms that will meet those requirements.
Step 2: Choose the Right CMS
There are countless CMS platforms available today, each with its own set of features, strengths, and weaknesses. Popular options include WordPress, Joomla, Drupal, and Shopify, among others. When choosing a new CMS, consider factors like ease of use, scalability, SEO capabilities, and support for your business’s specific needs.
For instance, WordPress is ideal for businesses that want flexibility and a vast selection of plugins, while Shopify is a great choice for eCommerce websites due to its built-in sales features. Make sure you select a CMS that aligns with your goals and can grow with your business over time.
Step 3: Back Up Your Existing Website
One of the most critical steps before migrating to a new CMS is to back up your existing website. This includes backing up all your content, media files, databases, and any other essential data. Having a complete backup ensures that you can restore your website in case anything goes wrong during the migration process.
There are several backup tools available for different CMS platforms, or you can work with your hosting provider to ensure everything is properly stored. Once the backup is complete, test it by restoring it on a staging environment to make sure nothing is missing.
Step 4: Plan the Migration Process
Migrating your website to a new CMS requires a detailed plan. First, map out the content and functionalities that need to be transferred to the new system. This includes your pages, blog posts, images, product listings, and any user-generated content.
Next, make a list of the key features and functionalities you want to carry over to the new CMS. Do you need eCommerce capabilities, SEO plugins, or social media integration? By having a clear list of requirements, you can ensure that the migration goes smoothly and that no essential features are lost.
Additionally, decide on the timing of the migration. Ideally, the process should take place during a period of low website traffic to minimize the impact on your users. Make sure you communicate the migration to your users in advance and keep them informed throughout the process.
Step 5: Set Up the New CMS
Once your migration plan is in place, it's time to set up your new CMS. This involves installing the CMS, selecting a theme or template, and configuring the necessary plugins and integrations. If you're working with a developer or a migration specialist, they can help you customise the new CMS to meet your needs.
Make sure the new CMS is configured to handle SEO settings, such as URL structures, meta tags, and 301 redirects. This will ensure that your website maintains its search engine rankings during and after the migration process.
Step 6: Transfer Your Website Content
With your new CMS set up, the next step is to transfer your website's content. You can either do this manually, by copying and pasting content from your old CMS to the new one, or through automated tools and plugins that facilitate content migration. Be sure to double-check that all pages, images, and media files are correctly transferred and formatted on the new CMS.
For large websites, this step may take time, so it's important to work methodically and ensure that everything is properly transferred. Any missing content can lead to broken links and poor user experience.
Step 7: Test and Optimise
Before going live with your newly migrated website, it's crucial to thoroughly test every aspect. This includes checking for broken links, testing the site’s responsiveness across devices, ensuring that all forms work, and confirming that user logins or membership areas function correctly.
Additionally, monitor the website's speed and performance on the new CMS. You want to make sure that the migration has not negatively impacted the site’s load time or usability. Make any necessary optimisations to improve speed and fix any issues that arise during testing.
Step 8: Go Live and Monitor
Once everything is tested and optimised, it's time to make your new CMS live. Keep a close eye on your website in the days following the migration to ensure there are no unexpected issues, such as downtime or performance lags. Additionally, monitor your website's traffic and SEO performance to ensure the migration has not negatively affected your rankings.
Remember to communicate the successful migration to your users, informing them of any new features or improvements they can expect from the new CMS.
Ready to take your website to the next level with a new CMS? Partner with Nauticsweb to make the migration process seamless and stress-free. Let us help you transform your online presence. Contact us today!
